Art & Curiosities Of Frank J. Guthrie
Links..
Tutorial: ZBrush/TopoGun Mesh Retopology
A Step-By-Step Tutorial On How To Retopologize A Rough Sketch For Better Efficiency ...
Preface
So! Like many of you, I wanted to create a character setting pipeline that will enable me to quickly sketch, retopologize and continue to sculpt on a “proper” Animation-ready mesh…
The Pipeline is very simple, but it requires a strict step-by-step path, which must be adhered to - for time efficiency, and various CG programs. You can do this in your 3D programs of choice - Maya, ZBrush, TopoGun and Photoshop in my case...
Levels Of Detail In Sculpting
Level Of Detail (LOD,) refers to the three progression stages in both design - as in character design, and in the execution of the design - as in this case, sculpting…
In this tutorial I’m only going to cover a technique that I use in the first level of detail (blocking,) but here is the rest of my sculpting pipeline:
1. Blocking...
1) Building a low-res cage. You can do this in your 3D program - Maya in my case, or in ZBrush, which I will show using simple PolySpheres…
2) Quick rough sketching using Dynamesh…
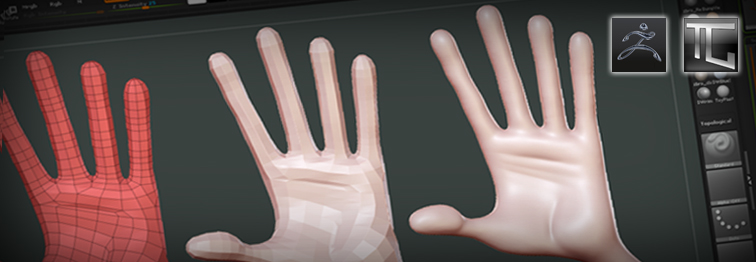
3) Create new topology (Retopology,) in your software of choice - Topogun in my case…
4) Re-importing the retopologized mesh and projecting detail from original sketch…
2. Sculpting...
5) Finalizing the major Sculpting in ZBrush and adding Props and other secondary Design elements…
3. High Frequency Detailing...
6) Sculpting High-Frequency details like, skin pores, wrinkles, etc…
7) Creating and exporting Normals, Color and Displacement maps...
To Be Continued!…